
Table of Contents
ToggleHome security has shifted from luxury to necessity, and more homeowners are tackling surveillance installation themselves. A 4 camera security system hits the practical midpoint, enough coverage for most properties without drowning in footage or overspending. Whether someone’s protecting a single-family home, a duplex, or a small business workspace, four cameras provide strategic coverage of entry points and vulnerable zones. This guide walks through choosing, placing, and installing a 4 camera setup that actually works, not just one that looks impressive on the box.
Key Takeaways
- A 4 camera security system strikes the ideal balance for most residential properties, covering four primary entry points (front door, back door, garage, and side entrance) while avoiding overlapping views and excessive storage costs.
- Four 1080p cameras generate 20–40 GB daily and fit comfortably on a 1 TB hard drive with 2–4 weeks of rolling storage, making data management practical without costly upgrades or cloud subscriptions.
- Strategic camera placement—mounting 7–9 feet high at corners and angling downward to capture faces and vehicle plates—multiplies effectiveness far more than camera quantity alone.
- For DIY installation, wireless and PoE systems are homeowner-friendly, but wired PoE systems require cable fishing and NVR configuration, while professional installation costs $200–$600 and handles complex wiring and weatherproofing.
- Secure your 4 camera security system immediately by changing default passwords, enabling two-factor authentication, and segmenting cameras on a separate network to prevent hacking and unauthorized access.
- Prioritize IP65 weather-rated cameras with quality infrared night vision, H.265 compression, and local storage as your primary setup, then add cloud backup for critical events rather than relying solely on cloud subscriptions.
Why a 4 Camera Setup Is the Sweet Spot for Home Security
Four cameras cover the essential areas without creating blind spots or redundant angles. Most single-family homes have four primary entry points: front door, back door, garage, and a side gate or secondary entrance. Each camera monitors one zone, which simplifies footage review and keeps storage needs manageable.
A 2 camera system forces hard choices, cover the front and back, or the garage and side yard? An 8 camera array works for larger properties or commercial setups, but residential users often end up with overlapping views and quadruple the storage costs. Four cameras allow strategic placement at corners where fields of view intersect, capturing both entry points and approach paths.
Cost scales linearly with camera count. A quality 4 camera system with a network video recorder (NVR) typically runs $300–$800, depending on resolution and features. Jumping to 8 cameras doubles equipment costs and often requires more complex wiring or upgraded network infrastructure. For suburban homes under 2,500 square feet, four cameras deliver comprehensive coverage without the budget bloat.
The sweet spot also applies to data management. Four cameras recording at 1080p resolution generate roughly 20–40 GB per day, depending on motion sensitivity settings. That’s manageable on a 1 TB hard drive with 2–4 weeks of rolling storage. Eight cameras push storage needs beyond what entry-level NVRs handle efficiently, forcing upgrades or cloud subscriptions that add $10–$30 monthly.
Key Features to Look for in a 4 Camera Security System
Not all 4 camera kits deliver the same performance. Focus on resolution, night vision range, storage architecture, and weather resistance before committing to a system.
Resolution and Night Vision Capabilities
1080p (1920×1080) remains the baseline for usable footage, clear enough to identify faces at 15–20 feet and read license plates at 25 feet under good lighting. 4K cameras (3840×2160) offer sharper detail but quadruple file sizes and demand more storage and processing power. For most residential setups, 1080p strikes the right balance between clarity and manageability.
Night vision separates functional cameras from decorative ones. Infrared (IR) LEDs illuminate up to 65–100 feet in complete darkness, rendering black-and-white footage. Quality IR systems adjust LED intensity automatically to prevent whiteout at close range. Starlight sensors capture low-light color footage without IR, useful near streetlights or porch lights, but they’re pricier and still need IR backup for true darkness.
Check the IP rating (Ingress Protection). IP65 handles rain and dust for most climates. IP67 withstands temporary submersion, necessary for ground-level cameras in flood-prone areas. Cameras rated below IP65 belong indoors only, moisture will corrode connectors and fog lenses within months.
Storage Options and Cloud Integration
Local storage via NVR or digital video recorder (DVR) keeps footage under the homeowner’s control. A 1 TB hard drive stores 2–4 weeks of continuous 1080p recording from four cameras, or 6–8 weeks with motion-triggered recording. NVRs connect via Ethernet (Power over Ethernet/PoE cameras) while DVRs use coaxial cables (analog or HD-TVI cameras). PoE simplifies installation, one cable per camera handles power and data, but requires a PoE switch or injector.
Cloud storage adds off-site redundancy but introduces recurring costs. Many systems offer 7–30 days of cloud backup for $5–$15 per month. Hybrid setups, local primary storage with cloud backup for critical events, provide the best of both. Some manufacturers lock advanced features behind cloud subscriptions, including motion zones or person detection, so read the fine print.
Look for systems supporting H.265 compression (also called HEVC). It cuts file sizes by 30–50% compared to older H.264 without sacrificing image quality. That means longer retention on the same hard drive or smaller cloud bills. Older budget systems still ship with H.264, which burns through storage faster.
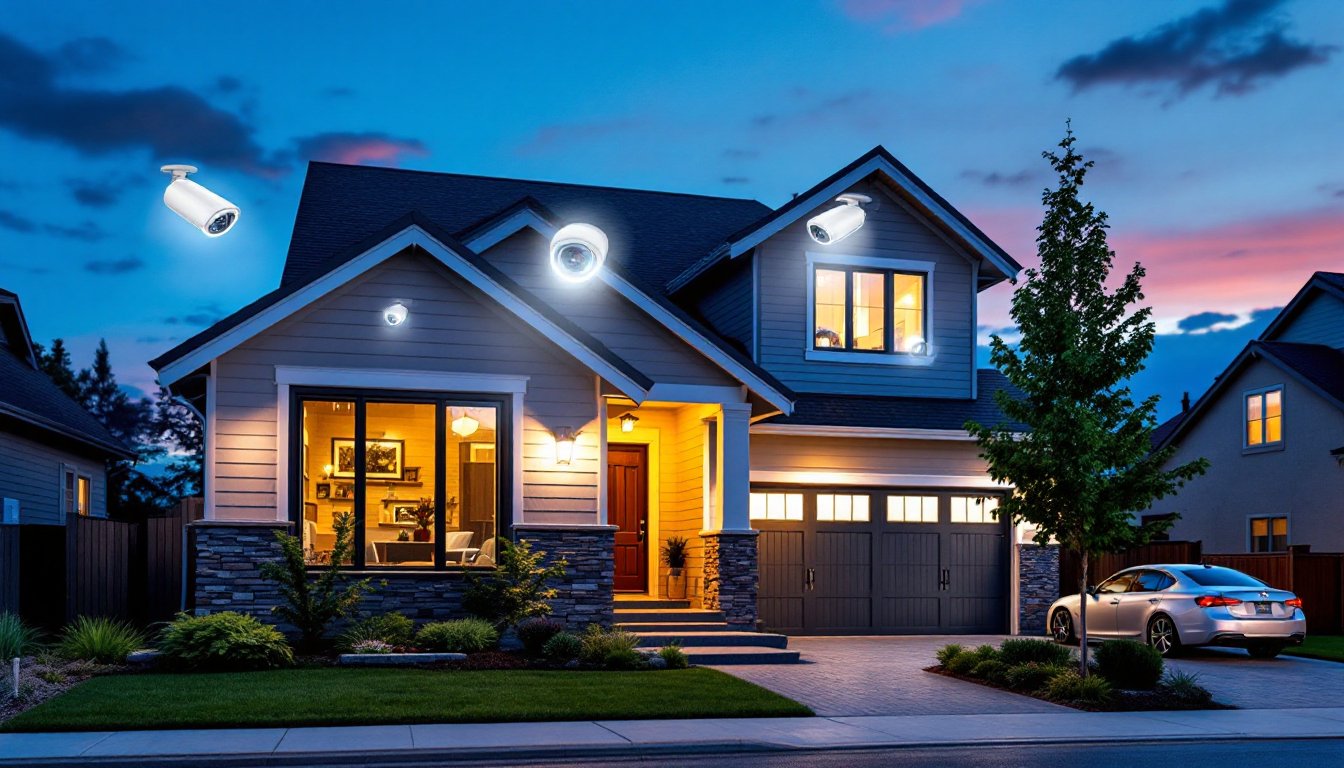
Best Placement Strategy for Your Four Cameras
Strategic placement multiplies the effectiveness of four cameras. Priority one: cover all ground-level entry points. Priority two: eliminate blind spots where someone could approach undetected.
Camera 1: Front door or driveway. Mount 7–9 feet high, angled downward to capture faces and vehicle plates. Position it to view the approach path, not just the doorstep. Corner mounting works better than centering above the door, angles reveal more of the face and reduce hat-brim shadows.
Camera 2: Back door or patio. Most break-ins target rear entries with more privacy from the street. Mount at the same height, covering the door and any ground-floor windows within 15 feet. If the backyard has a fence gate, angle to capture both the gate and door in one frame.
Camera 3: Garage or side entrance. Garages house expensive tools and provide interior access if the door to the house isn’t secured. Side gates and basement entries also qualify as high-risk zones. Mount high enough to avoid tampering, 8 feet minimum, and ensure night vision range covers the entire approach.
Camera 4: Driveway, side yard, or vulnerable window. This camera fills the biggest remaining gap. For properties with long driveways, position it to capture vehicles and visitors before they reach the door. For homes with accessible first-floor windows, cover the most secluded one. Urban lots with narrow side yards benefit from a camera watching that alley or walkway.
Avoid aiming cameras directly at streetlights, porch lights, or reflective surfaces. Glare washes out footage and triggers false motion alerts. Test angles during installation by viewing live feeds and walking the property, what looks covered on paper often reveals blind spots in practice. Many wireless systems integrate with smart home platforms, allowing homeowners to monitor multiple camera feeds from a single interface.
Run cabling inside walls or conduit whenever possible. Exposed wires invite tampering and weather damage. For PoE cameras, Cat5e or Cat6 Ethernet cable supports runs up to 328 feet from the NVR without signal loss. Wireless cameras need strong Wi-Fi, walls, metal siding, and distance degrade signals fast. If Wi-Fi extenders are necessary, the system isn’t truly wireless.
DIY Installation vs. Professional Setup: What Homeowners Need to Know
Most 4 camera systems are DIY-friendly, but complexity varies. Wireless battery-powered cameras mount in under an hour with a drill and screwdriver. Wired PoE systems demand cable fishing, termination, and NVR configuration, doable for someone comfortable with basic networking, but a weekend project, not an afternoon one.
DIY makes sense when:
- The system is wireless or uses existing Ethernet drops.
- Cameras mount on accessible exterior walls or eaves.
- The homeowner has basic tools: drill, bits for brick/wood/vinyl, cable clips, and a ladder.
- The NVR or hub offers plug-and-play setup with a smartphone app.
Wireless systems eliminate cable runs but require charging or wiring to AC outlets. Battery life ranges from 2–6 months per charge, depending on activity and temperature. Cold weather drains batteries faster. Solar panels extend runtime but add $30–$60 per camera.
Wired PoE systems deliver reliable power and data but demand more installation effort. Running cable through walls requires fish tape, patience, and sometimes cutting drywall access holes. Exterior mounting involves drilling through siding and sealing penetrations with silicone caulk to prevent water intrusion. Many modern systems, including options highlighted in recent wireless camera reviews, now offer simpler installation with mobile app configuration.
Professional installation costs $200–$600 for a 4 camera system, depending on wiring complexity and regional labor rates. Pros handle cable fishing, attic or crawlspace runs, and weatherproofing. They also configure network settings, motion zones, and mobile access, tasks that trip up less tech-savvy DIYers. If the installation requires mounting on brick, stone, or second-story eaves, professionals bring the right masonry bits, anchors, and scaffolding.
Permit requirements vary by jurisdiction. Most municipalities don’t require permits for low-voltage security camera installation, but verify local codes before drilling. Cameras aimed at public streets or neighbor’s properties may trigger privacy complaints or ordinances, angle cameras to cover your property only.
Safety considerations: Use a sturdy extension ladder rated for the user’s weight plus tools. Foam-padded standoffs prevent siding damage. Always wear safety glasses when drilling overhead, vinyl, wood, and brick debris falls fast. Turn off circuit breakers before drilling near outlets or light fixtures to avoid hitting live wires.
Network security matters as much as physical installation. Change default admin passwords immediately, many systems ship with “admin/admin” credentials that make hacking trivial. Enable two-factor authentication if available. Segment cameras on a separate VLAN (virtual local area network) if the router supports it, isolating them from computers and phones on the main network. Outdated firmware is a common vulnerability: enable automatic updates or check quarterly.
Conclusion
A 4 camera security system delivers practical, scalable home protection without overcomplicating installation or burning through storage budgets. Prioritize cameras that match the property’s specific risks, entry points, blind spots, and high-value areas, and choose wired or wireless based on existing infrastructure and comfort level with tools. Whether going DIY or hiring a pro, proper placement and network security transform a box of cameras into a functional surveillance system that actually deters problems instead of just recording them.