
Table of Contents
ToggleA 48-inch bathroom vanity strikes the sweet spot between compact efficiency and generous workspace. It’s wide enough for double sinks or serious counter space, yet narrow enough to fit bathrooms that can’t swallow a 60-inch unit. Whether you’re updating a master bath or carving out more function from a modest space, the 48-inch footprint delivers flexibility without compromise. This guide walks through the configurations, features, and installation considerations that make a 48-inch vanity one of the most versatile choices on the market in 2026.
Key Takeaways
- A 48-inch bathroom vanity balances compact efficiency with generous workspace, fitting standard bathroom layouts while accommodating double sinks or expansive counter space without overwhelming smaller rooms.
- Comfort-height 48-inch vanities (34–36 inches) are now standard and match kitchen ergonomics, requiring verification of existing plumbing stub-out heights before installation.
- Single-sink configurations maximize usable counter area with 18–20 inches of surface on each side, while double-sink models sacrifice center workspace but enable simultaneous bathroom use.
- Wall-mounted vanities create visual spaciousness and simplify cleaning but require solid structural blocking anchored to studs, whereas freestanding units are easier to install but harder to clean underneath.
- Countertop material significantly impacts durability and cost, ranging from budget-friendly laminate ($20–$40/sq ft) to premium engineered quartz ($60–$100/sq ft), with roughly 10–12 square feet needed for a 48-inch vanity.
- Proper installation requires locating studs, shimming for level surfaces, rerouting plumbing for sink configuration changes, and applying mold-resistant caulk to prevent water intrusion and long-term damage.
Why a 48-Inch Vanity Is the Ideal Size for Most Bathrooms
The 48-inch width (actual dimension, not nominal) fits standard bathroom floor plans common in homes built from the 1980s forward. It occupies roughly four linear feet of wall space, leaving room for a toilet, shower, and clearance to meet International Residential Code (IRC) minimums, typically 30 inches of clear floor space in front of fixtures.
This size works well in both shared and single-user bathrooms. In a master suite, it accommodates dual sinks with about 24 inches per basin, enough for two people to use simultaneously without elbow collision. In a guest bath or powder room, a single-sink 48-inch vanity offers expansive counter space for toiletries, décor, or an undermount medicine cabinet.
Standard vanity heights have shifted. The old 30–32 inch “furniture height” has largely given way to comfort height models at 34–36 inches, matching kitchen counter ergonomics. If you’re replacing an older vanity, double-check your plumbing stub-out heights, most are roughed in at 21 inches above the finished floor for the drain and 20–22 inches for supply lines, which works fine with comfort-height cabinets.
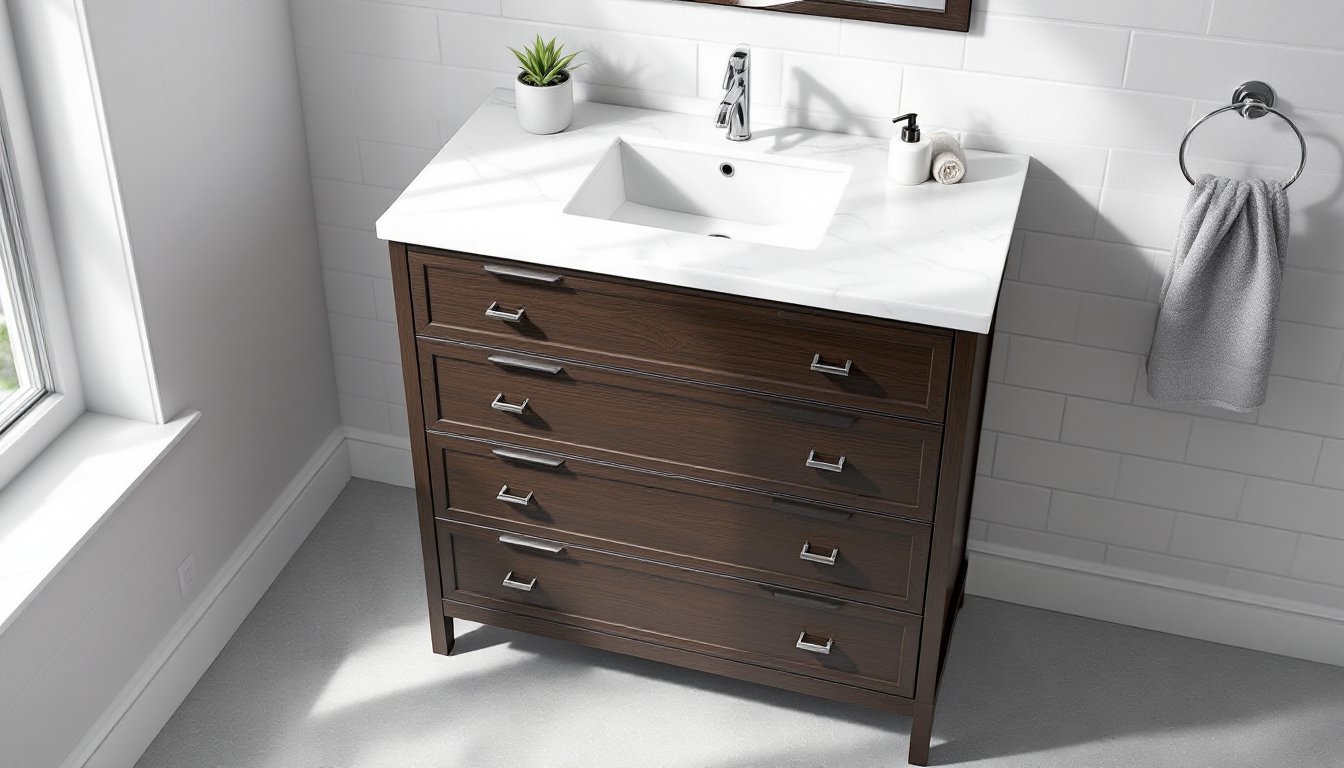
Another practical advantage: door and drawer hardware spacing. A 48-inch cabinet can house four drawers or a combination of doors and drawers without crowding, making it easier to organize grooming supplies, cleaning products, and linens. Narrower vanities often force compromises in drawer depth or door swing.
Types of 48-Inch Bathroom Vanities to Consider
Single Sink vs. Double Sink Configurations
A single-sink 48-inch vanity typically centers the basin, leaving 18–20 inches of counter on each side. This setup maximizes usable surface area and simplifies plumbing, one drain, one set of supply lines, one faucet. It’s the go-to choice for solo users or when counter space matters more than simultaneous access.
Double-sink models divide the 48 inches into two roughly equal zones. Each basin gets about 20–22 inches of width (measuring bowl opening, not overall counter). That’s tighter than the 30-inch spacing recommended by the National Kitchen & Bath Association (NKBA) for luxury installs, but it’s functional for most households. You’ll sacrifice counter space between sinks, expect 3–6 inches of usable surface in the center, just enough for a soap dispenser or small tray.
Plumbing a double sink requires two P-traps and either a shared drain line or separate branch drains that meet a common stack. If your existing rough-in serves a single sink, adding a second involves cutting into the wall and potentially opening the floor. Not a dealbreaker, but plan for extra labor and materials. Some design sourcebooks showcase creative double-sink layouts that minimize visible plumbing.
Freestanding vs. Wall-Mounted Options
Freestanding vanities sit directly on the floor, like furniture. They’re easier to install, no need to locate studs or reinforce drywall. The cabinet base hides plumbing and provides a finished look on all sides, which matters if the vanity isn’t against a corner. Most units include adjustable leveling feet to compensate for uneven tile or subflooring.
The tradeoff: cleaning under a freestanding vanity is tougher, and if the floor isn’t level, shimming can leave visible gaps. Baseboards or toe kicks help conceal these, but you’ll want to caulk the joint where the vanity meets the wall to prevent water intrusion.
Wall-mounted (floating) vanities attach to studs via a cleat or French cleat system and hang 4–8 inches above the floor. This creates a visual sense of space, simplifies mopping, and suits contemporary or minimalist aesthetics. The open floor underneath also accommodates in-floor radiant heat or tile patterns that you don’t want interrupted.
Installation requires solid blocking. A 48-inch vanity filled with a stone countertop, sinks, and stored items can exceed 200 pounds. You’ll need to anchor into at least two studs (spaced 16 inches on center) or install a horizontal 2×6 or 2×8 backer board between studs during rough framing. Retrofitting blocking in an existing wall means opening drywall. If studs land in the wrong spots, a French cleat spanning three studs distributes the load safely.
Key Features to Look for When Shopping
Countertop material drives cost and durability. Engineered quartz resists stains and doesn’t require sealing, but expect $60–$100 per square foot installed. Natural stone (granite, marble) offers unique veining at $50–$150 per square foot but needs periodic sealing. Solid-surface (Corian-type) materials are repairable and non-porous, running $40–$80 per square foot. Laminate and cultured marble are budget picks at $20–$40 per square foot but show wear faster. For a 48-inch vanity, figure roughly 10–12 square feet of countertop area including backsplash.
Cabinet construction matters more than finish. Plywood box construction holds up better in humid bathrooms than particleboard, which can swell if water seeps past the finish. Dovetail or dowel joints outlast stapled or glued corners. Soft-close hinges and drawer glides cost a few dollars more per unit but prevent slamming and extend hardware life. Many remodeling cost guides break down material grades and their typical price ranges.
Depth is usually 21–22 inches from the wall to the front edge of the counter, matching standard kitchen base cabinets. Shallower models (18 inches) exist for tight spaces but limit undermount sink options. Deeper vanities (24 inches) add counter space but can crowd smaller bathrooms and interfere with door swings.
Storage layout varies widely. Some 48-inch units offer a bank of drawers on one side and a cabinet with shelves on the other. Others split storage symmetrically around a center sink. Look for adjustable shelves and at least one drawer tall enough for a hair dryer or curling iron (typically 6–8 inches interior height). Integrated electrical outlets inside drawers are increasingly common for cordless toothbrush chargers and clippers.
Backsplash height typically runs 4 inches, but full-height (to the mirror or ceiling) is trending in 2026. A taller backsplash protects drywall from splashes and allows accent tile or continuation of the countertop material. If you’re tiling, plan for the vanity to arrive before you tile so you can scribe cuts precisely.
Pre-drilled faucet holes limit flexibility. Single-hole drilling suits modern vessel or undermount faucets. Widespread 8-inch drilling fits traditional three-piece faucet sets. Some countertops arrive undrilled, giving you freedom to position faucets or add accessories like soap dispensers. Drilling granite or quartz after installation requires a diamond hole saw and steady hands, worth hiring out if you’re not comfortable.
Installation Tips for Your 48-Inch Vanity
Turn off water at the shutoff valves below the existing vanity or at the main if valves are seized. Open faucets to drain residual pressure. Disconnect supply lines (usually 3/8-inch compression fittings) and unscrew the P-trap. Keep a bucket handy, there’s always trapped water.
Remove the old vanity. Most units are caulked to the wall and floor: score the caulk line with a utility knife to avoid tearing drywall or lifting tile. If the vanity is screwed into studs, back those screws out. Check the wall and floor for damage, rot, or mold. Now’s the time to patch, replace drywall, or address subfloor issues.
Locate studs with a finder or by tapping and measuring from a corner (studs are typically 16 or 24 inches on center). Mark stud centers at the height where the vanity’s mounting rail or cleat will land, usually 30–32 inches above the floor for a comfort-height unit. If installing a wall-mounted vanity and studs don’t align with the cabinet’s mounting points, install a horizontal ledger board across at least two studs using 3-inch construction screws.
Set the vanity in place without the countertop first (if it’s separate). Use a 4-foot level across the top and front-to-back. Shim as needed with composite shims (wood shims can compress over time in damp environments). For freestanding units, drive screws through the cabinet’s hanging rail into studs. For wall-mounted, hang the cabinet on the cleat and verify it’s level before securing with additional fasteners.
If you’re replacing a single sink with a double or vice versa, you may need to reroute plumbing. Adding a second drain involves running a new branch line to the existing stack. This often requires opening the wall and sometimes the floor. Most jurisdictions require a permit for new drain work, check with your local building department. If you’re not comfortable sweating copper or working with PEX, this is the point to call a licensed plumber. A simple swap (same sink count, same positions) is DIY-friendly.
Attach the countertop. Some vanities use brackets or clips: others rely on a bead of silicone adhesive between the cabinet and countertop. Stone tops are heavy (a 48-inch quartz slab weighs 60–80 pounds), so have a helper. Align it carefully, once silicone sets, repositioning is messy.
Install faucets and drains before setting the top in place if possible: it’s far easier to tighten mounting nuts and connect supply lines with open access. Use plumber’s putty or a rubber gasket under basket strainer drains (for drop-in sinks) and silicone for undermount drains. Don’t overtighten, plastic drain bodies can crack.
Reconnect supply lines (braided stainless flex lines are easiest and code-compliant in most areas). Hand-tighten, then go another quarter-turn with a wrench. Turn water back on slowly and check for leaks at every connection: shutoff valves, supply lines, faucet inlets, and drain joints. Let water run for a few minutes and inspect the P-trap and tailpiece.
Run a bead of caulk along the back edge where the countertop or backsplash meets the wall, and along the base if it’s a freestanding unit. Use mold-resistant silicone rated for kitchen and bath. Smooth with a wet finger or caulk tool within a few minutes, silicone skins over fast.
Safety note: Wear safety glasses when cutting or drilling countertops, dust masks (N95 or better) if sawing MDF or particleboard, and gloves when handling sharp edges or silicone. If you’re working with cast-iron drain lines or need to solder copper, heat-resistant gloves and adequate ventilation are non-negotiable.
Conclusion
A 48-inch vanity delivers the right balance of function and fit for most bathrooms. Focus on solid construction, the sink configuration that matches your household’s use, and realistic installation planning. Measure twice, check your plumbing rough-in, and don’t skip the level. With careful selection and methodical installation, a quality 48-inch vanity will serve reliably for years.