
Table of Contents
ToggleA smart home control panel serves as the command center for every connected device in your house, from lights and thermostats to security cameras and door locks. Instead of juggling half a dozen apps to adjust your living room temperature or check who’s at the front door, a centralized panel puts everything in one place. These devices have evolved beyond simple touchscreens: today’s models offer voice control, customizable dashboards, and integration with dozens of platforms. Whether you’re retrofitting an older home or wiring a new build, understanding what these panels can do, and what they can’t, will save you time, money, and frustration down the road.
Key Takeaways
- A smart home control panel centralizes control of lights, locks, cameras, and thermostats through a single wall-mounted or countertop interface, eliminating the need to juggle multiple apps.
- Protocol compatibility—supporting Wi-Fi, Zigbee, Z-Wave, and Thread—matters more than screen size; verify your smart home control panel works with all your existing devices before purchasing.
- Customizable dashboards, voice assistant integration, and local processing capabilities separate reliable panels from basic ones, especially when internet outages occur.
- Installation costs extend beyond the panel itself; budget for hubs ($100), hardwiring materials ($150+), and professional installation ($150–$500) to avoid cost surprises.
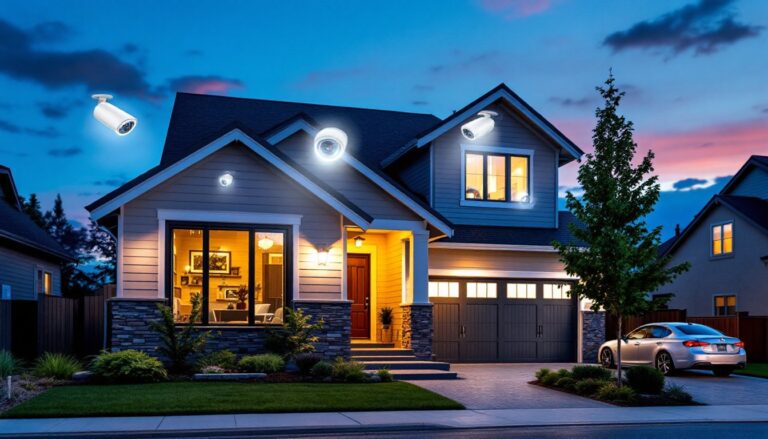
- Placement in high-traffic areas like kitchens and entryways maximizes usability, while proper mounting to studs and strategic cable routing ensure both safety and a clean aesthetic.
- Evaluate your household’s tech literacy level and future expansion plans before committing to an ecosystem, as some platforms evolve with new device support faster than proprietary systems.
What Is a Smart Home Control Panel?
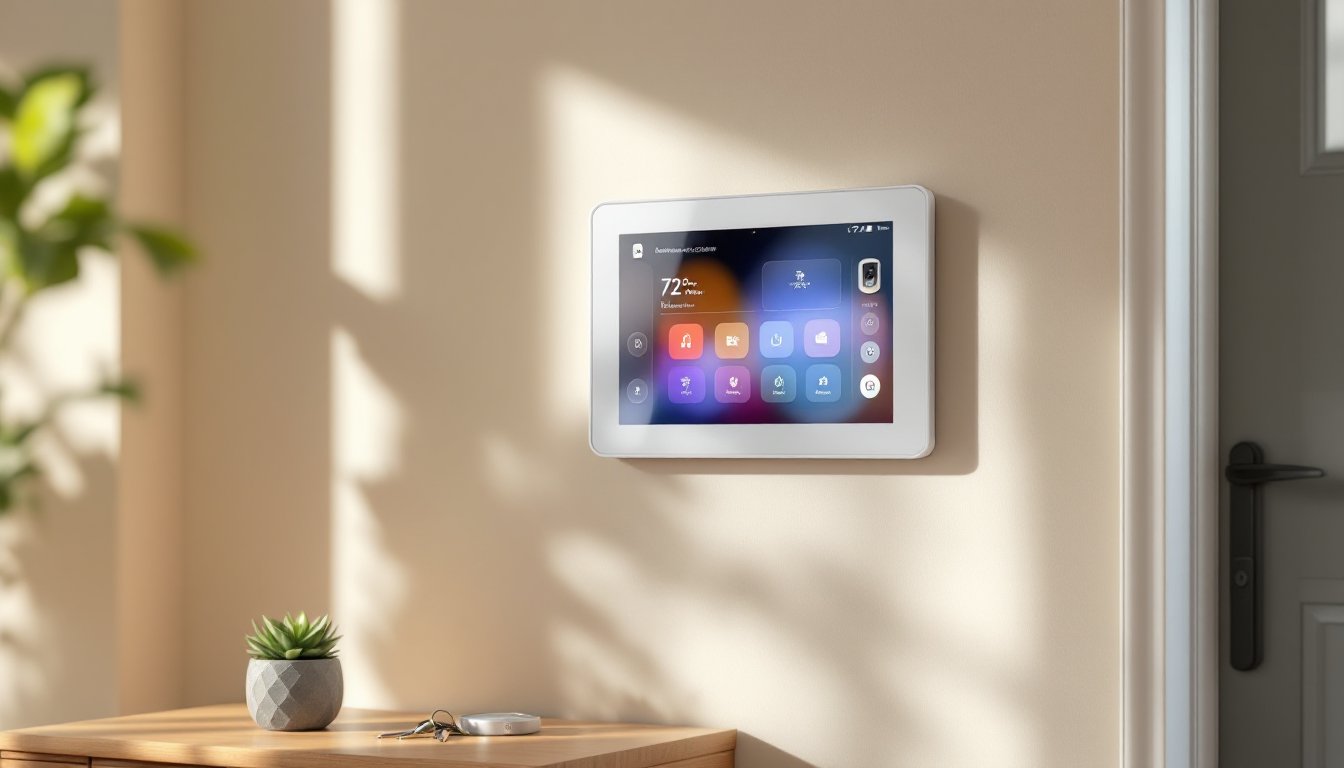
A smart home control panel is a centralized interface, typically a wall-mounted touchscreen or countertop display, that manages multiple smart devices through a single hub. Think of it as the thermostat for your entire house, but instead of just controlling temperature, it handles lighting, locks, cameras, speakers, blinds, and appliances.
Most panels run on platforms like Amazon Alexa, Google Assistant, or Apple HomeKit, though some manufacturers offer proprietary ecosystems. The hardware usually includes a 7- to 10-inch touchscreen, built-in speakers, and wireless connectivity via Wi-Fi, Zigbee, Z-Wave, or Thread. Some models double as digital photo frames or video calling stations when not actively controlling devices.
Unlike smartphone apps, which require unlocking your phone and navigating menus, a control panel stays visible and accessible. It’s especially useful in high-traffic areas like kitchens or entryways where family members need quick access to controls without fumbling for devices. The panel communicates with individual smart devices either directly (if they’re compatible) or through a separate hub that bridges protocols.
One key distinction: a control panel isn’t the same as a smart home hub. A hub (like Samsung SmartThings or Hubitat) handles backend communication between devices. A control panel is the front-end interface you interact with. Some devices, like the Amazon Echo Show or Google Nest Hub, combine both functions in one unit.
Key Features to Look for in a Control Panel
Protocol compatibility matters more than screen size. Your panel needs to speak the same language as your devices. If you’ve got Philips Hue lights (Zigbee), a Yale lock (Z-Wave), and a Nest thermostat (Wi-Fi), confirm the panel supports all three protocols or works with a compatible hub. Many homeowners assume all smart devices play nice together, they don’t.
Voice assistant integration determines how hands-free your setup can be. Panels running Alexa or Google Assistant let you issue commands without touching the screen, which is clutch when your hands are covered in flour or you’re carrying groceries. Apple HomeKit users should verify Siri support, though options are more limited compared to Amazon and Google ecosystems.
Customizable dashboards separate basic panels from powerful ones. Look for interfaces that let you arrange controls by room, create scenes (like “Movie Night” that dims lights and lowers blinds), and set automation routines. Some panels offer drag-and-drop customization: others lock you into preset layouts. If you’re managing 20+ devices, rigid layouts become a nightmare fast.
Video intercom and camera integration adds serious utility. Panels with built-in cameras support video calls, but more importantly, they can display feeds from doorbell cameras and security systems. A 1080p screen resolution is baseline: anything lower makes it hard to identify faces at your front door.
Power and mounting options dictate where you can install the panel. Battery-powered units offer placement flexibility but require recharging every few weeks. Hardwired panels need low-voltage wiring (usually 12V or 24V) run to the installation spot, doable for DIYers comfortable with electrical work, but plan on cutting into drywall. Some models include Power over Ethernet (PoE), which simplifies installation if you’re running Cat6 cable anyway.
Local control vs. cloud dependency affects reliability during internet outages. Panels that rely entirely on cloud servers become useless when your Wi-Fi drops. Look for systems that support local processing for critical functions like unlocking doors or turning on lights.
Top Smart Home Control Panel Options for Homeowners
Amazon Echo Show 15 mounts to the wall like a digital picture frame and runs Alexa natively. The 15.6-inch display handles smart home controls, video calls, and recipe displays. It works well if you’re already invested in the Alexa ecosystem and don’t need Z-Wave support. Installation requires either the included wall mount or a countertop stand: hardwiring is optional but keeps the screen clutter-free.
Google Nest Hub Max offers a 10-inch display with a built-in Nest Cam for video calling and home monitoring. It integrates tightly with Google services and controls any device compatible with Google Assistant. The audio quality beats most competitors, which matters if you use it as a kitchen speaker. It’s countertop-only unless you buy a third-party wall mount: there’s no official hardwire option.
Apple iPad with Home app isn’t purpose-built for wall mounting, but many homeowners use a spare iPad with a PoE-powered mount as a control panel. This route gives you full HomeKit access and works with Siri. The catch: it’s the most expensive option per square inch of screen, and you’ll need to disable sleep mode or use a third-party app to keep the display always-on. Among the best smart displays currently available, dedicated units often edge out repurposed tablets for reliability.
Brilliant Smart Home Control is a hardwired panel designed to replace light switches. It includes physical dimmer controls alongside a touchscreen and works as a Sonos controller, which is a nice bonus for whole-home audio setups. Installation requires a standard single-gang electrical box and neutral wire, if your house was built before the 1980s, you might not have one. This option suits homeowners who want control integrated into the wall rather than sitting on a counter.
Control4 and Crestron panels represent the professional-grade tier. These systems require dealer installation and programming but offer unmatched customization and reliability. Expect to spend $2,000 to $10,000+ depending on integration complexity. If you’re building a new home or doing a major renovation, these are worth considering: retrofitting them into an existing house usually isn’t cost-effective unless you’re going all-in on automation.
Many reviewers covering top smart home devices emphasize compatibility over feature count, a panel is only as useful as the ecosystem it supports.
How to Choose the Right Control Panel for Your Home
Start with an inventory of your current smart devices and their protocols. If you’ve got a mix of Wi-Fi, Zigbee, and Z-Wave gadgets, you’ll need either a multi-protocol panel or a separate hub that bridges everything. Homeowners with devices scattered across incompatible ecosystems often end up frustrated when their $300 panel can’t talk to a $40 smart plug.
Room layout and traffic flow determine ideal placement. Kitchens and entryways see the most use: bedrooms and home offices work for secondary panels. Measure the available wall or counter space before buying, a 15-inch panel looks great in marketing photos but might dominate a small galley kitchen. Also consider viewing angles: touchscreens mounted too high or low become awkward to use.
Household tech literacy matters more than people admit. If half your family struggles with smartphone apps, a simplified interface like the Google Nest Hub makes sense. Power users comfortable with automation scripting might prefer something like Home Assistant running on a Raspberry Pi with a touchscreen, it’s DIY-friendly but has a learning curve.
Budget realistically for the full system, not just the panel. A $200 Echo Show is affordable, but if you need to add a SmartThings hub ($100), rewire for hardwired power ($150 in materials if you DIY), and upgrade incompatible devices, you’re suddenly at $500+. Professional installation for a Brilliant panel runs $150 to $300 depending on your electrician’s rates and whether you need a neutral wire added.
Future expansion should factor in. If you plan to add motorized shades, a whole-home audio system, or security integration down the road, verify the panel supports those additions. Some ecosystems (like Alexa and Google) add new device support regularly: others (like older proprietary systems) might not keep pace with emerging tech.
Check whether the panel requires a subscription for full functionality. Some brands lock advanced features like cloud storage for camera feeds or multi-user access behind monthly fees. That $10/month adds up to $120 annually, over five years, it’s another $600 on top of the hardware cost.
Installation Tips and Best Practices
Safety first: If you’re hardwiring a panel, shut off power at the breaker and verify with a non-contact voltage tester before touching any wires. Even low-voltage systems (12V or 24V) can short out and damage equipment if wired incorrectly. Wear safety glasses when drilling into walls, you never know when you’ll hit a nail or staple.
Locate studs and electrical boxes before mounting. Use a stud finder to mark 16-inch on-center framing and check for existing wiring with a wire tracer or by referencing your home’s electrical plan if available. Mounting directly to drywall with anchors works for lightweight countertop units, but wall-mounted panels, especially those with built-in speakers, need solid backing. If you’re mounting between studs, install a horizontal backer board (a 1×4 or 1×6 secured to studs on either side) to anchor the panel securely.
Run wiring during the rough-in stage if you’re building or renovating. For retrofit installations, you’ll likely need to fish cable through walls, which can be tricky in finished spaces. Low-voltage wiring doesn’t require a conduit in most jurisdictions, but check local codes, some areas mandate it. Use Cat6 cable for PoE installations: it supports both power and data and future-proofs for higher-speed networks.
Power supply placement matters. If using a plug-in adapter, plan how you’ll conceal the cord, running it through the wall keeps things tidy but may require cutting access holes and patching drywall. Recessed outlet boxes (like Arlington’s recessed TV box) sit flush behind the panel and hide cables cleanly. For hardwired low-voltage systems, install the transformer in an accessible spot like a basement or utility closet, not buried in a wall cavity where you can’t service it.
Test connectivity before final mounting. Power up the panel, connect it to Wi-Fi, and verify it can communicate with all your devices. Discovering your panel can’t reach the Z-Wave lock in the front hallway after you’ve patched and painted the wall is a headache you don’t need.
DIY Installation vs. Professional Setup
Countertop panels like the Echo Show or Nest Hub are plug-and-play, no special skills required. Wall mounting adds complexity but remains DIY-friendly if you’re comfortable with a drill and level. Expect 30 to 60 minutes for a simple adhesive or screw mount: double that if you’re running cables.
Hardwired installations require basic electrical knowledge. If you’ve wired a ceiling fan or replaced a light switch, you can handle a low-voltage panel. Running new cable through walls takes patience and the right tools (fish tape, flexible drill bits, drywall saw), but it’s doable for a moderately skilled DIYer. Budget 3 to 6 hours for a retrofit installation including patching and touch-up paint.
Call a licensed electrician if you need to add a neutral wire to a switch box, install a new circuit, or if local code requires permitted electrical work. Some jurisdictions classify even low-voltage smart home wiring as electrical work requiring permits and inspections, check with your building department before starting. Professional installation typically costs $150 to $500 depending on complexity and regional labor rates.
Systems like Control4 or Crestron require professional installation and programming, they’re not designed for end-user setup. If you’re going that route, get quotes from at least two certified dealers and ask to see examples of their previous work. These systems justify the cost when you’re integrating lighting control, multi-room audio, security, and HVAC into a unified interface, but they’re overkill for basic smart home setups.
For smart home hubs with Alexa and Google, most homeowners find DIY installation straightforward, especially with models that don’t require hardwiring or structural modifications.
Conclusion
A well-chosen control panel transforms a collection of disconnected gadgets into a cohesive smart home system. Focus on compatibility with your existing devices, plan for future expansion, and be honest about your installation skills. Whether you mount an Echo Show in the kitchen or hardwire a Brilliant panel in the hallway, the right setup puts control where you need it most, without adding complexity.